Configuring Asset Maps and Hotspots
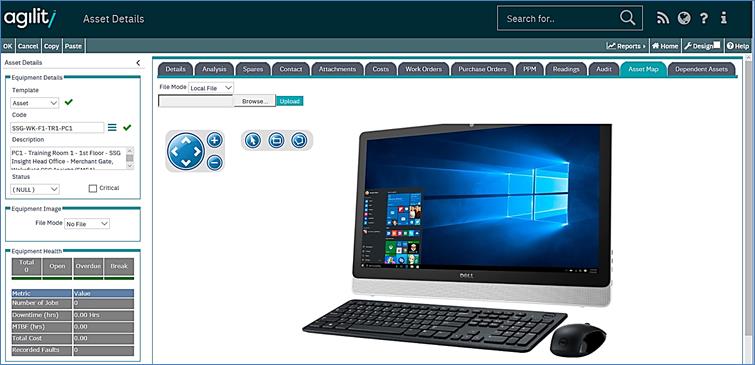
Whether adding a Site map, or simply just a picture of an Asset, the process is performed within the equipment detailed view.
Drill into the detail form for the relevant Equipment template you want to add the picture to, and then click “Change” at the top.
As you will see on the following screenshot, the process of adding the picture is the same as adding an attachment to any other area of Agility.
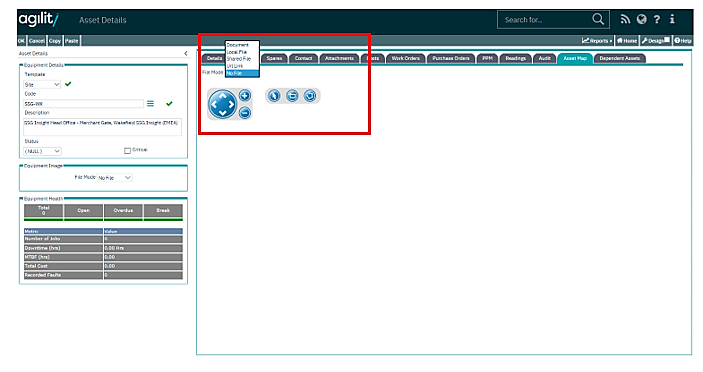
The area highlighted in red on the previous screenshot shows the usual tools for adding an attachment (file mode, browse and upload buttons), but also shows the tools used for creating hotspots.
The buttons highlighted in red on the screenshot above are the tools used to create hotspots. The “rectangle” for creating square and rectangular shaped ones, the “pentagon” is for creating more irregular shaped hotspots.
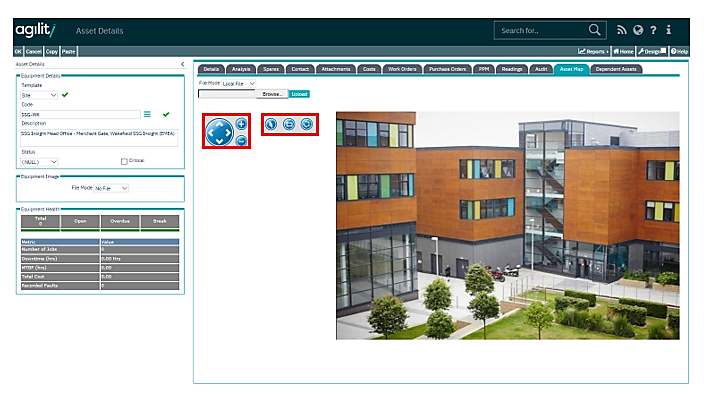
The screenshot that follows shows the extra commands which appear once you have drawn the area you wish to create as a hotspot. The hotspot is also shown - it’s the red box around “1st Floor”.
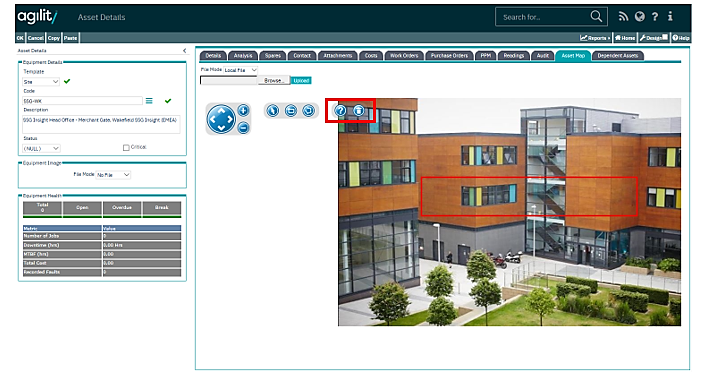
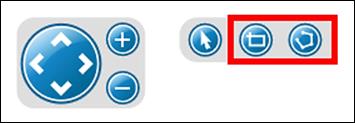
Once
the hotspot has been drawn, you click on the  button. This takes you into the
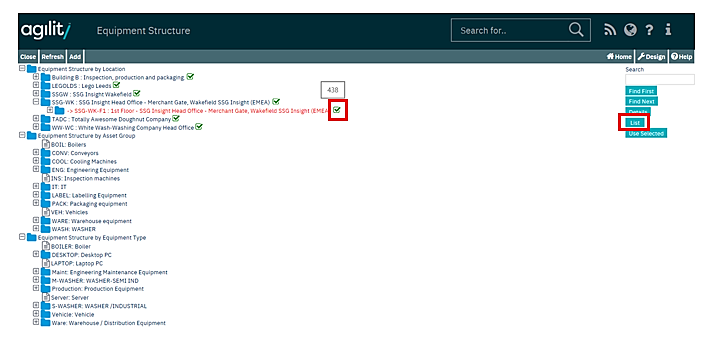
Equipment Structure view and allows you to select the Asset you want to link to,
or alternatively, allows you to open the Equipment List.
button. This takes you into the
Equipment Structure view and allows you to select the Asset you want to link to,
or alternatively, allows you to open the Equipment List.
From here you can apply filters to allow you to select an Asset easily.
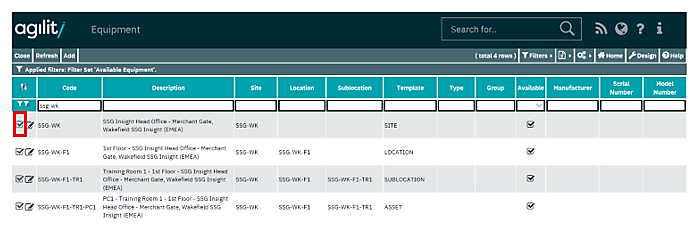
Once you have selected the correct record, simply click OK to update the record.
If you now point the mouse at the hotspot, the Equipment Code for the linked record will appear.
Screen tip - If you click on the blue shaded hotspot, the linked record will open in the detail form.
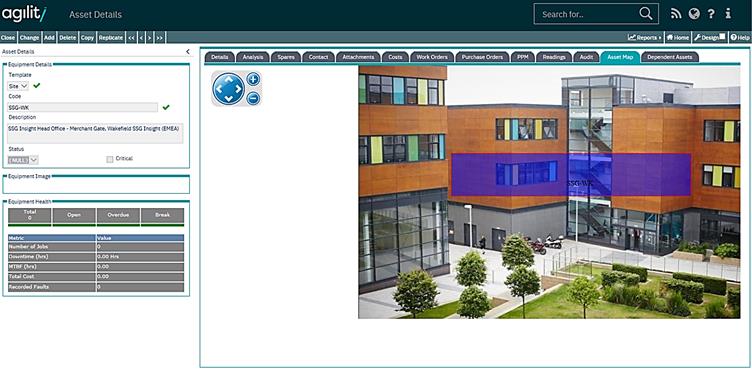
Then simply continue to add your asset map to each level of the structure.
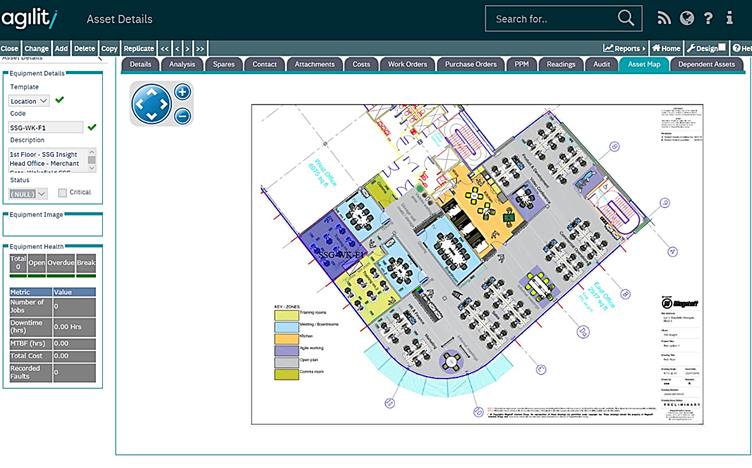
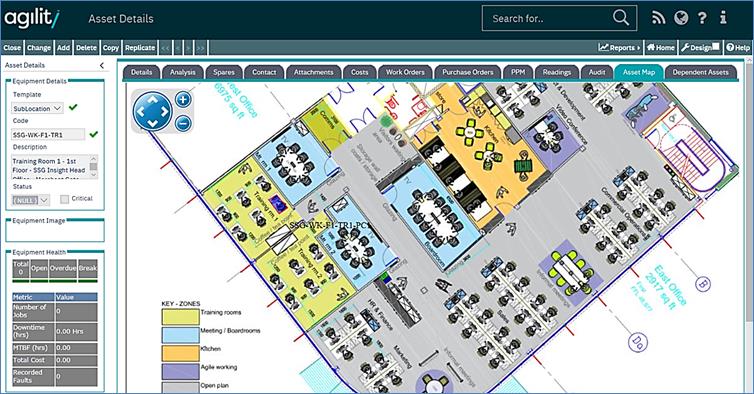
Through to final level;